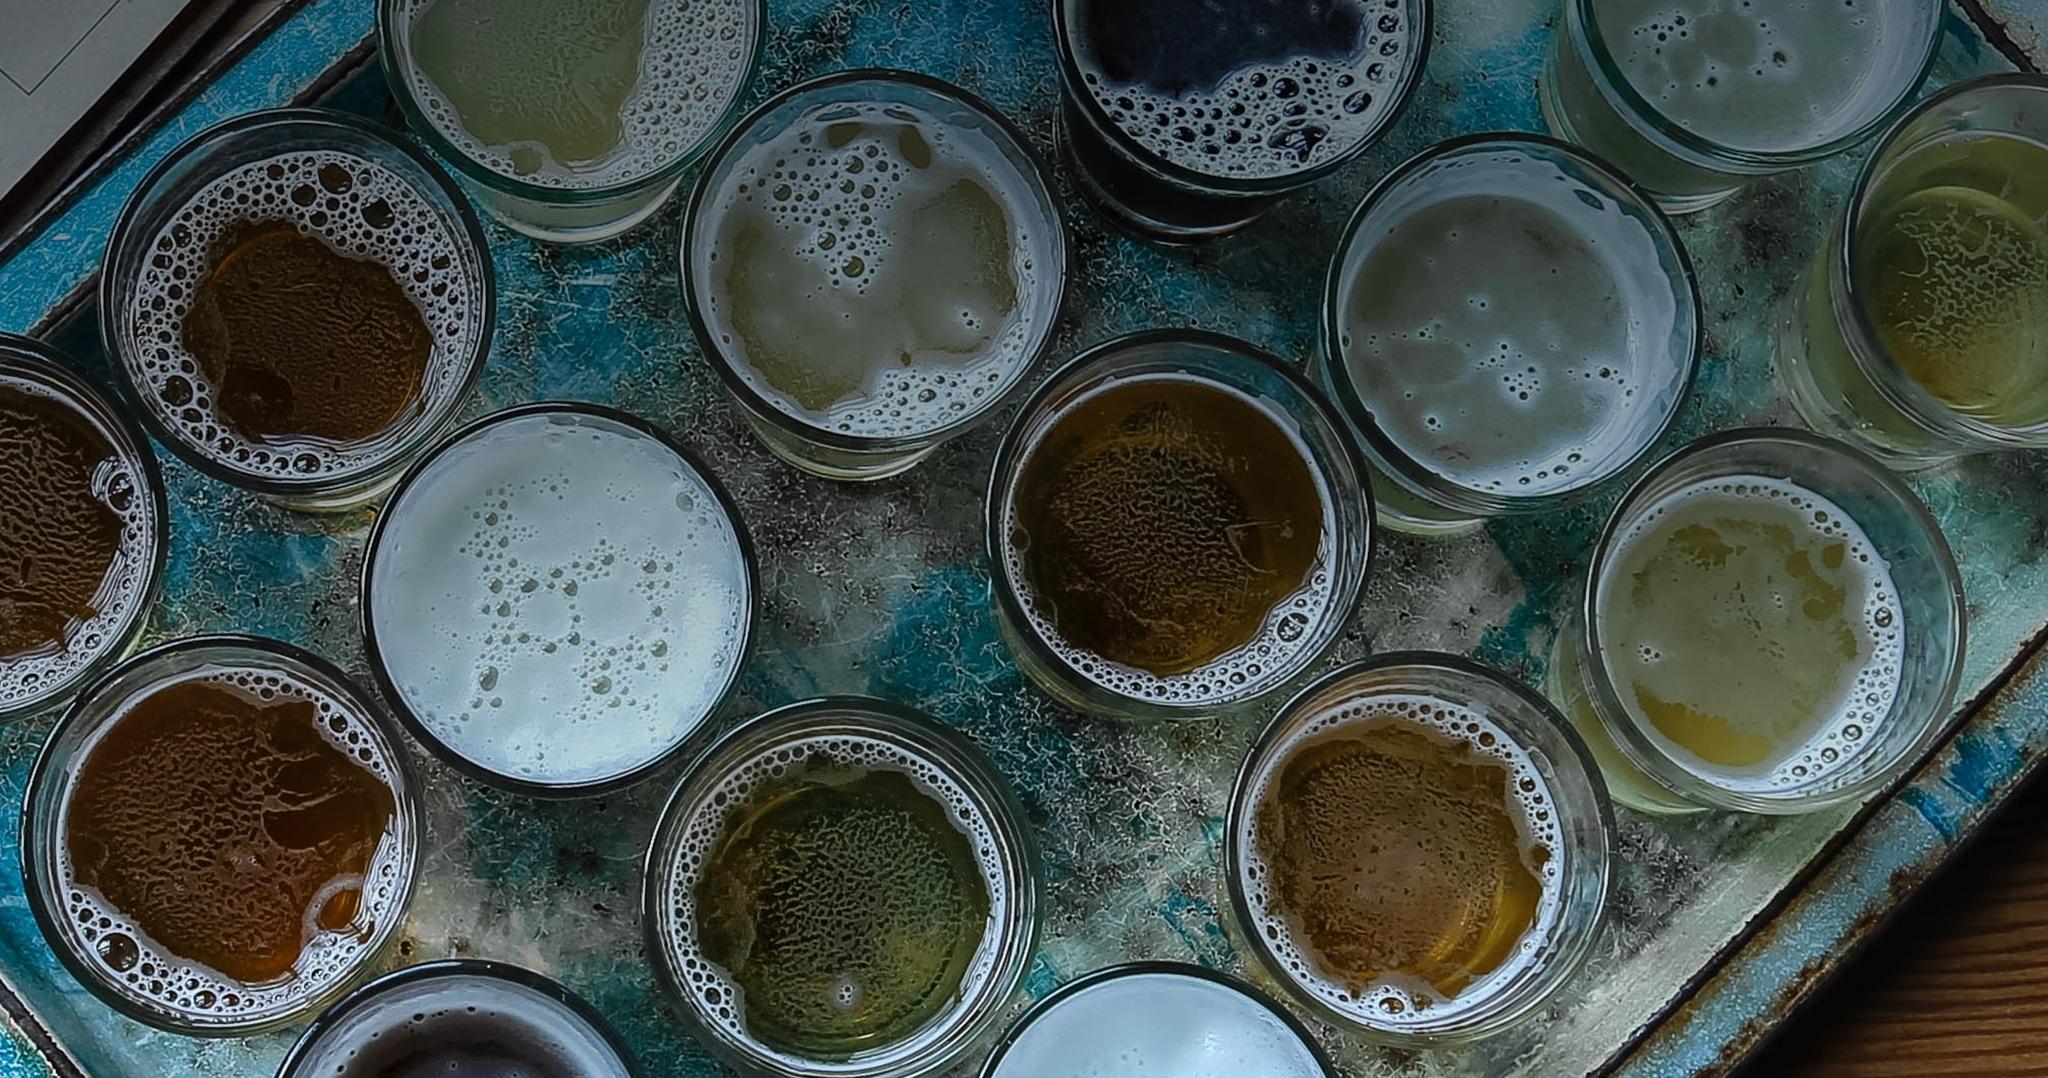
It’s totally possible to make gluten-free beer with a long-lasting head of foam, but it doesn’t always happen automatically. Thankfully, with the wide range of high-quality ingredients and enzymes available today, there are more paths to gluten-free foam than ever before.
Below, I’ll go over some of the main approaches—from ingredient selection to enzymes to brewing processes—and I’ll also explain why these methods work.
Whither foam? A story of proteins and acids
Protein from grain (and to a lesser extent yeast) is the main reason that beer traditionally has a long-lasting foam head, in contrast with the effervescent, short-lived bubbles of low-protein beverages like hard cider or sparkling wine.
Tetrahydro-iso-alpha acids (THIAA) from hops also assist in foam stability, so highly hopped IPAs tend to have better head retention than, say, light lagers. You can buy foam-boosting THIAA extracts in concentrated form, but usually only in quantities appropriate for batches 30 barrels or larger, and even then, the extracts need to be mixed into solution post-fermentation with a sanitary dosing pump. For a lot of brewers, even professionals, that’s not a realistic option. As such, the main variables most brewers are going to be able to control are protein-related.
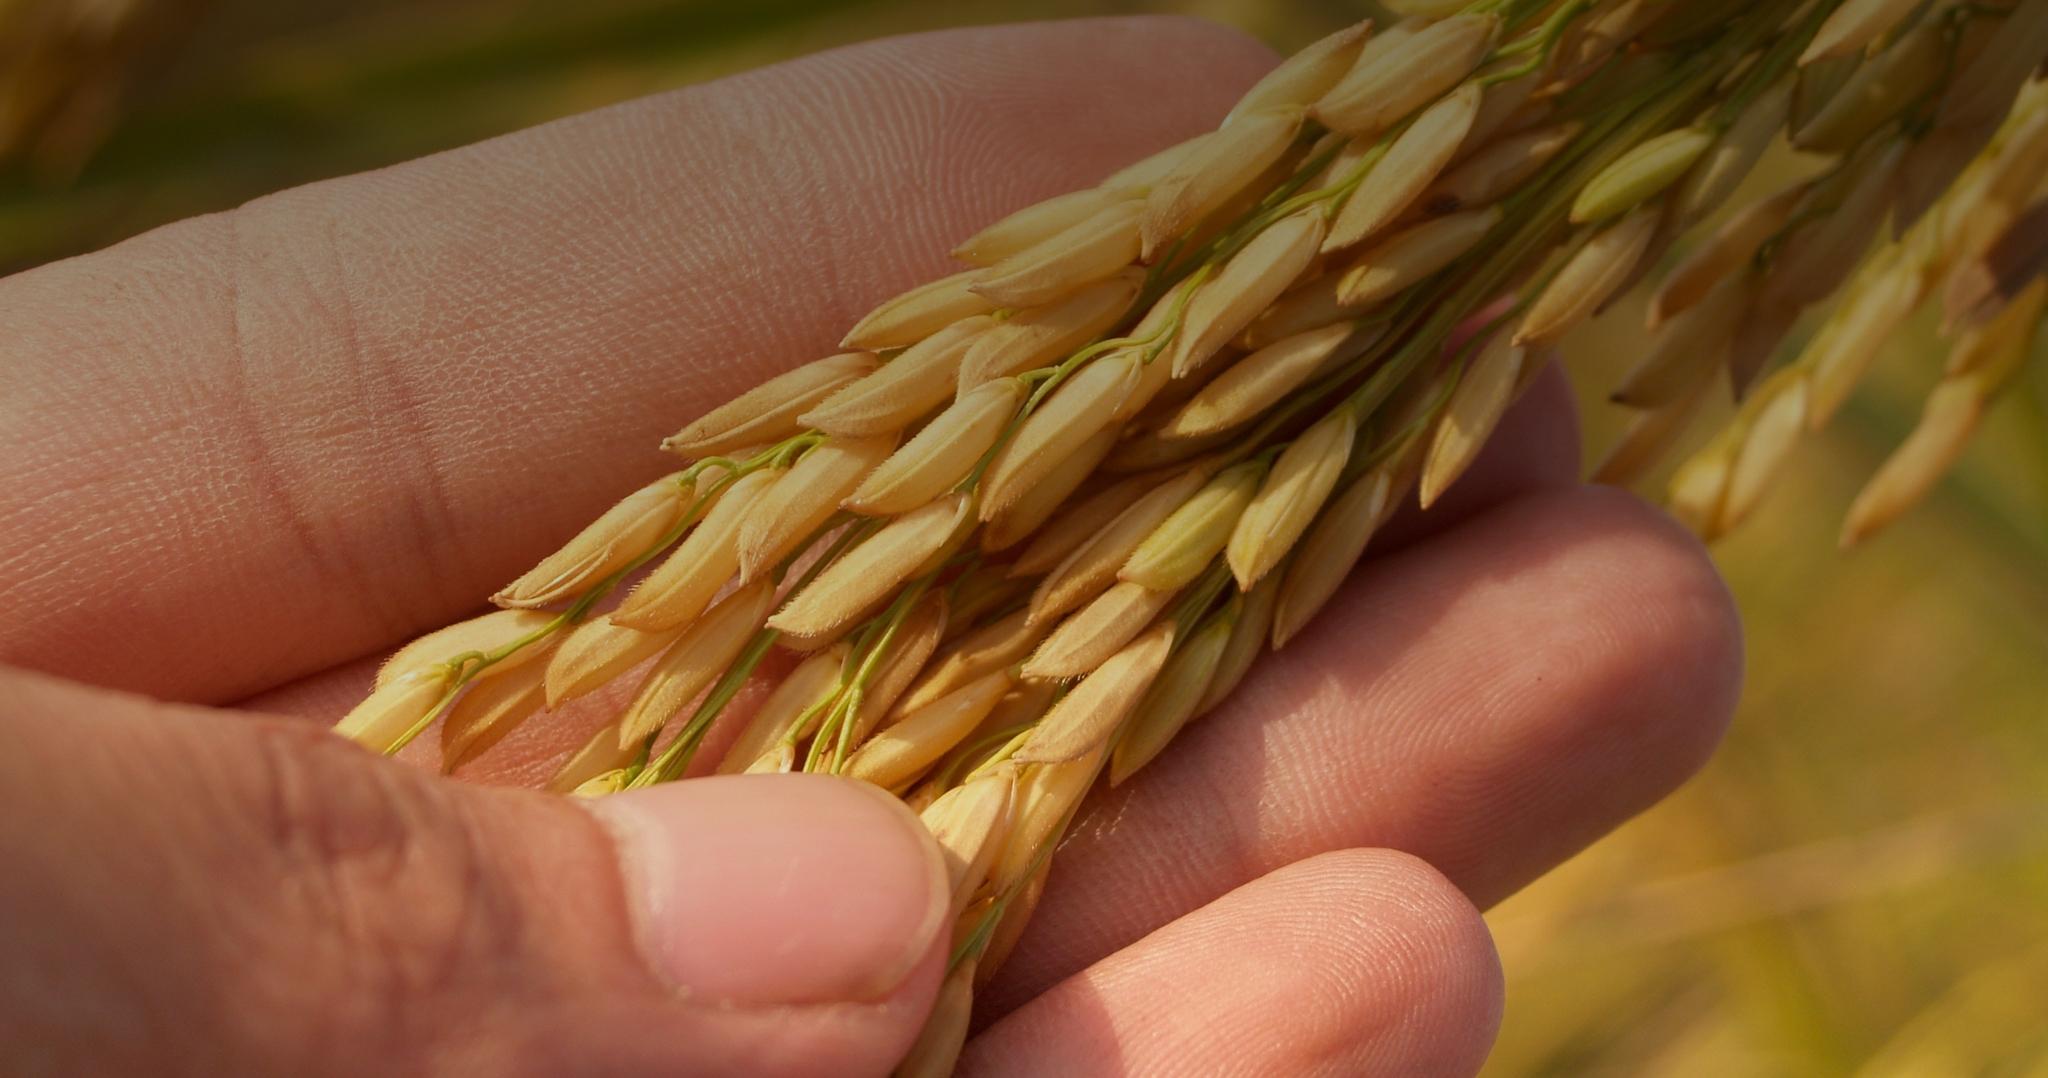
Most traditional brewing grains are high in protein. Barley malt clocks in between 9.5-13.5%, whereas wheat malt is 12-14% or more. Yet it’s less about quantity and more about the type of protein. Rice has about half as much protein as barley, but you can still get great foam in a beer made with 100% malted rice. In fact, barley malters have spent decades trying to _reduce _the amount of protein in their grain, because too much protein causes its own set of problems.
If you’ve read my article on cereal grain anatomy, you’ll remember that proteins of different sizes play distinct roles in the brewing process. The smallest amino acids and peptides get consumed by the yeast and are essential to a healthy fermentation. In contrast, larger proteins will bond with phenols and other undesirables on brew day to create clearer wort via the hot and cold breaks.
There are also proteins that make their way into the finished beer. Some of these bond with phenols at cold temperatures, precipitating them out over time and clarifying your beer. Other proteins, however, remain in the beer indefinitely, turning into foamy head.
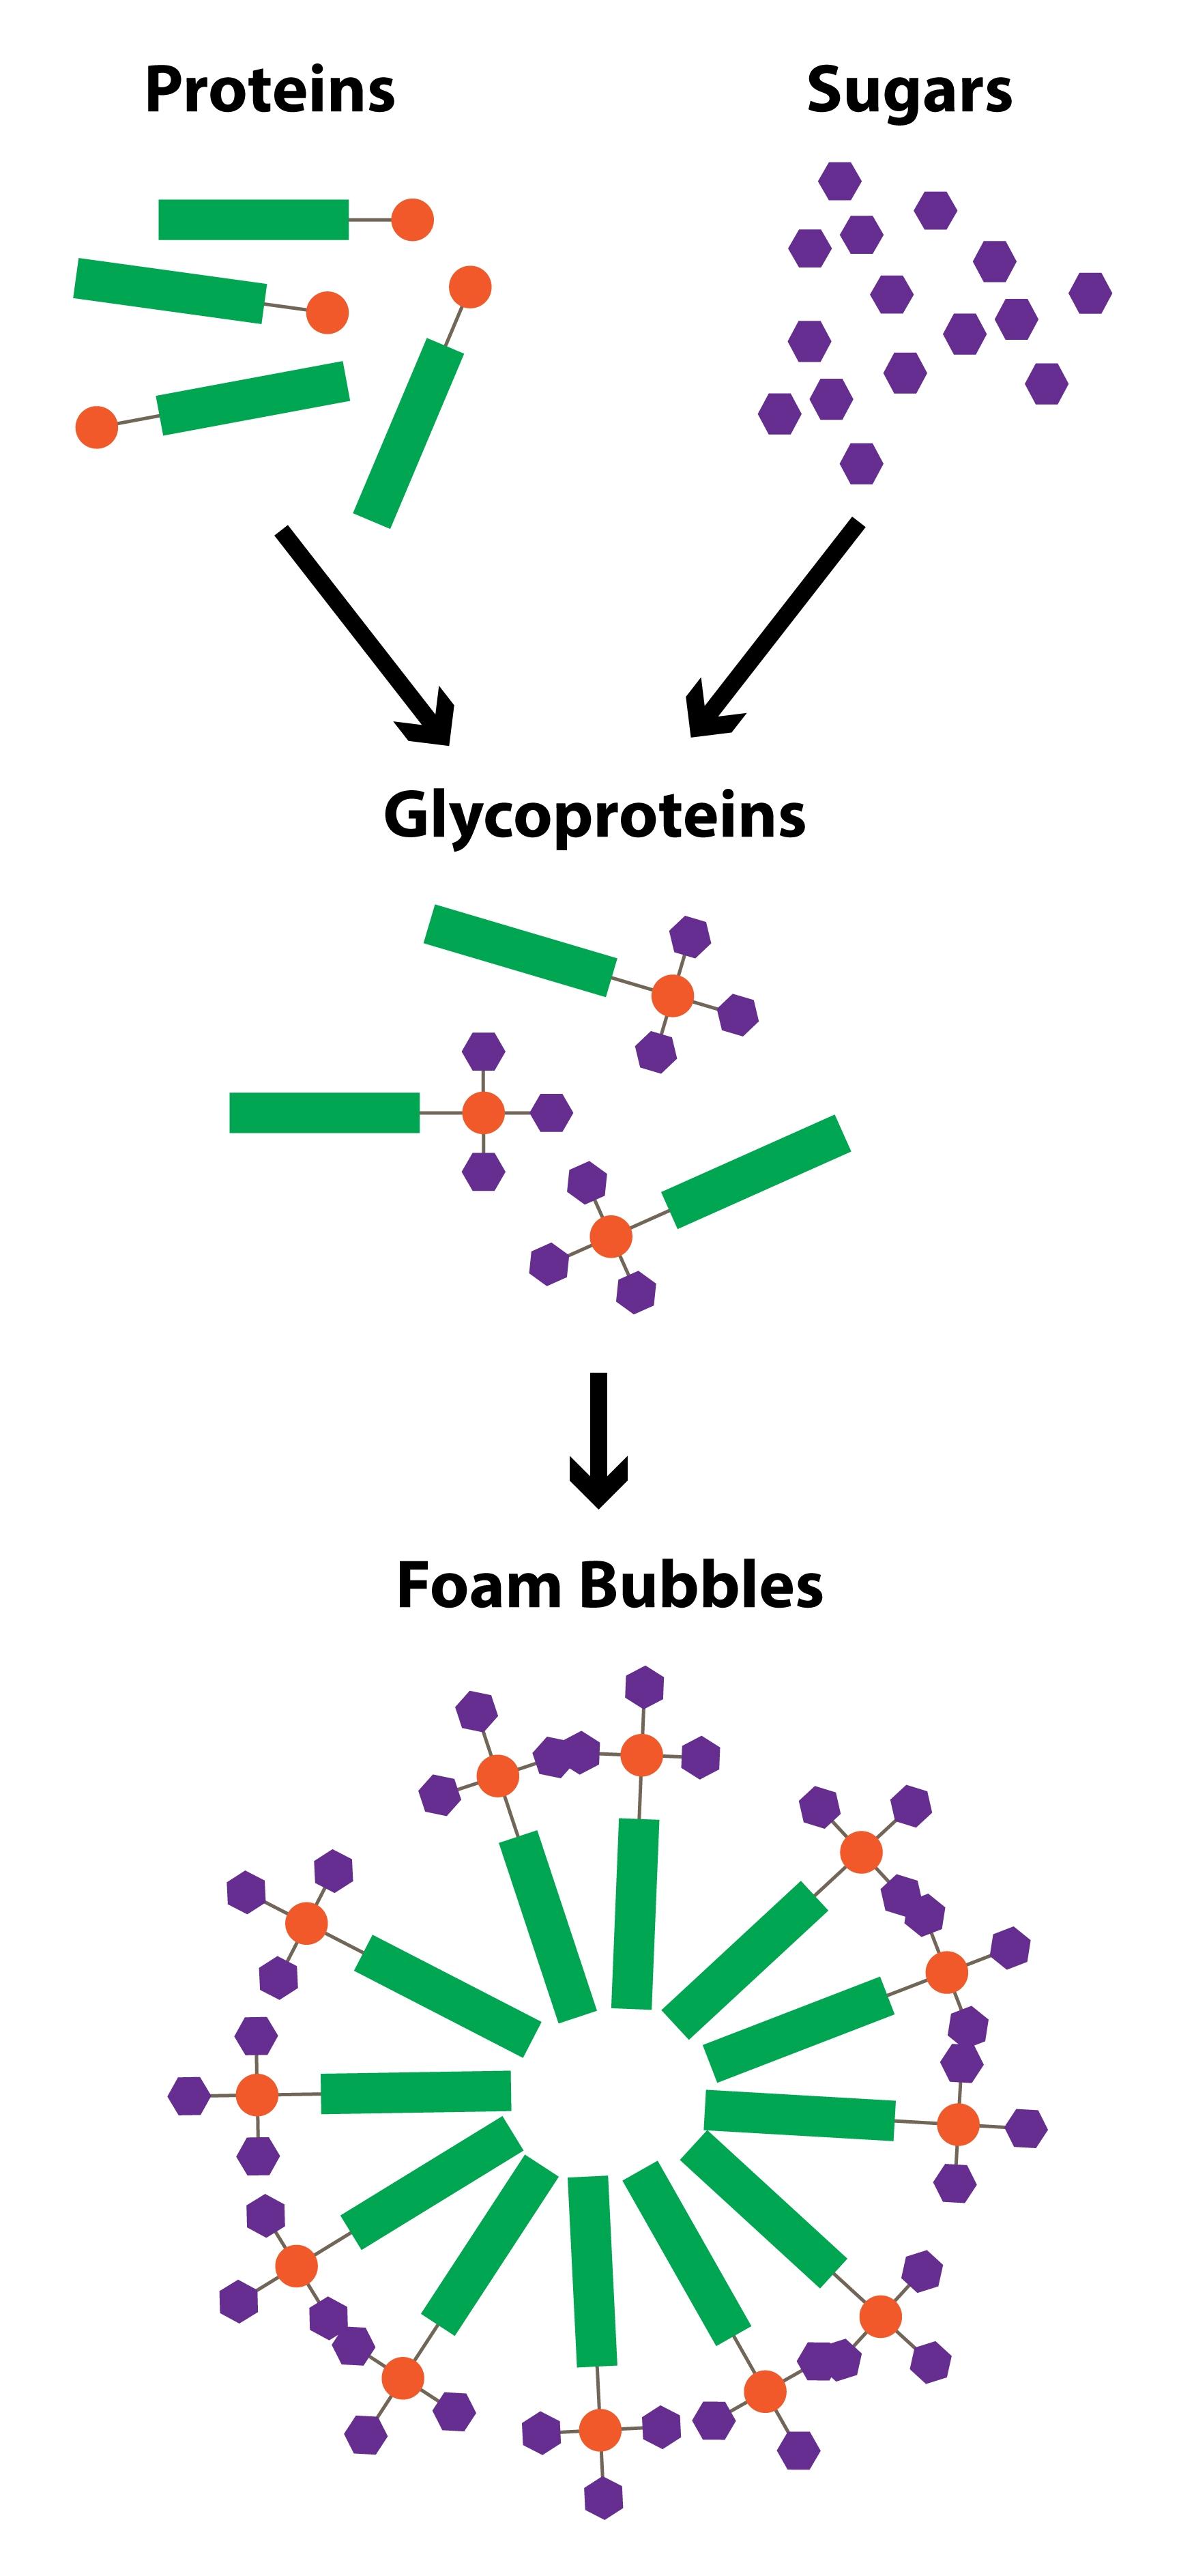
The most studied foam-causing proteins are glycoproteins, which are what you get when you glue a sugar molecule onto the end of a protein molecule. These glycoproteins are polar, with one end that is attracted to water and one that is repulsed by it. As such, they tend to group together into spheres, trapping gas in the middle. These bubbles are your foam.
So with all that in mind, let’s explore some of the ways of increasing foam-positive proteins in gluten-free beer. Note that all of the suggestions below assume that you’re brewing primarily with malted grain. If you use syrups or sugars as part of your recipe, you’ll need to up all of the protein boosters to compensate.
Buckwheat and quinoa
Two of the simplest methods to get foam are by adding buckwheat and/or quinoa to your grain bill. I’ve found that using one or both of these grains for 5-15% of the grist gives pretty good results, depending on the style and which other grains are present.
Buckwheat’s protein content varies widely by varietal, from less than half that of rice to slightly more than barley. I’m not sure how much is present in the malted buckwheat options we have available, but whatever is in there is foam positive.
Buckwheat is also high in beta-glucans, which give the beer a slippery viscosity that is good for mouthfeel when used in moderation. There is some debate as to whether beta-glucans also improve foam stability. As a stabilizer in food-based foams, they do. However, studies of beta-glucan in beer have shown no effect. Seeing as Ondea Pro (discussed below) breaks down beta-glucans and also increases foam stability, I tend to fall on the “no effect” side of the debate.
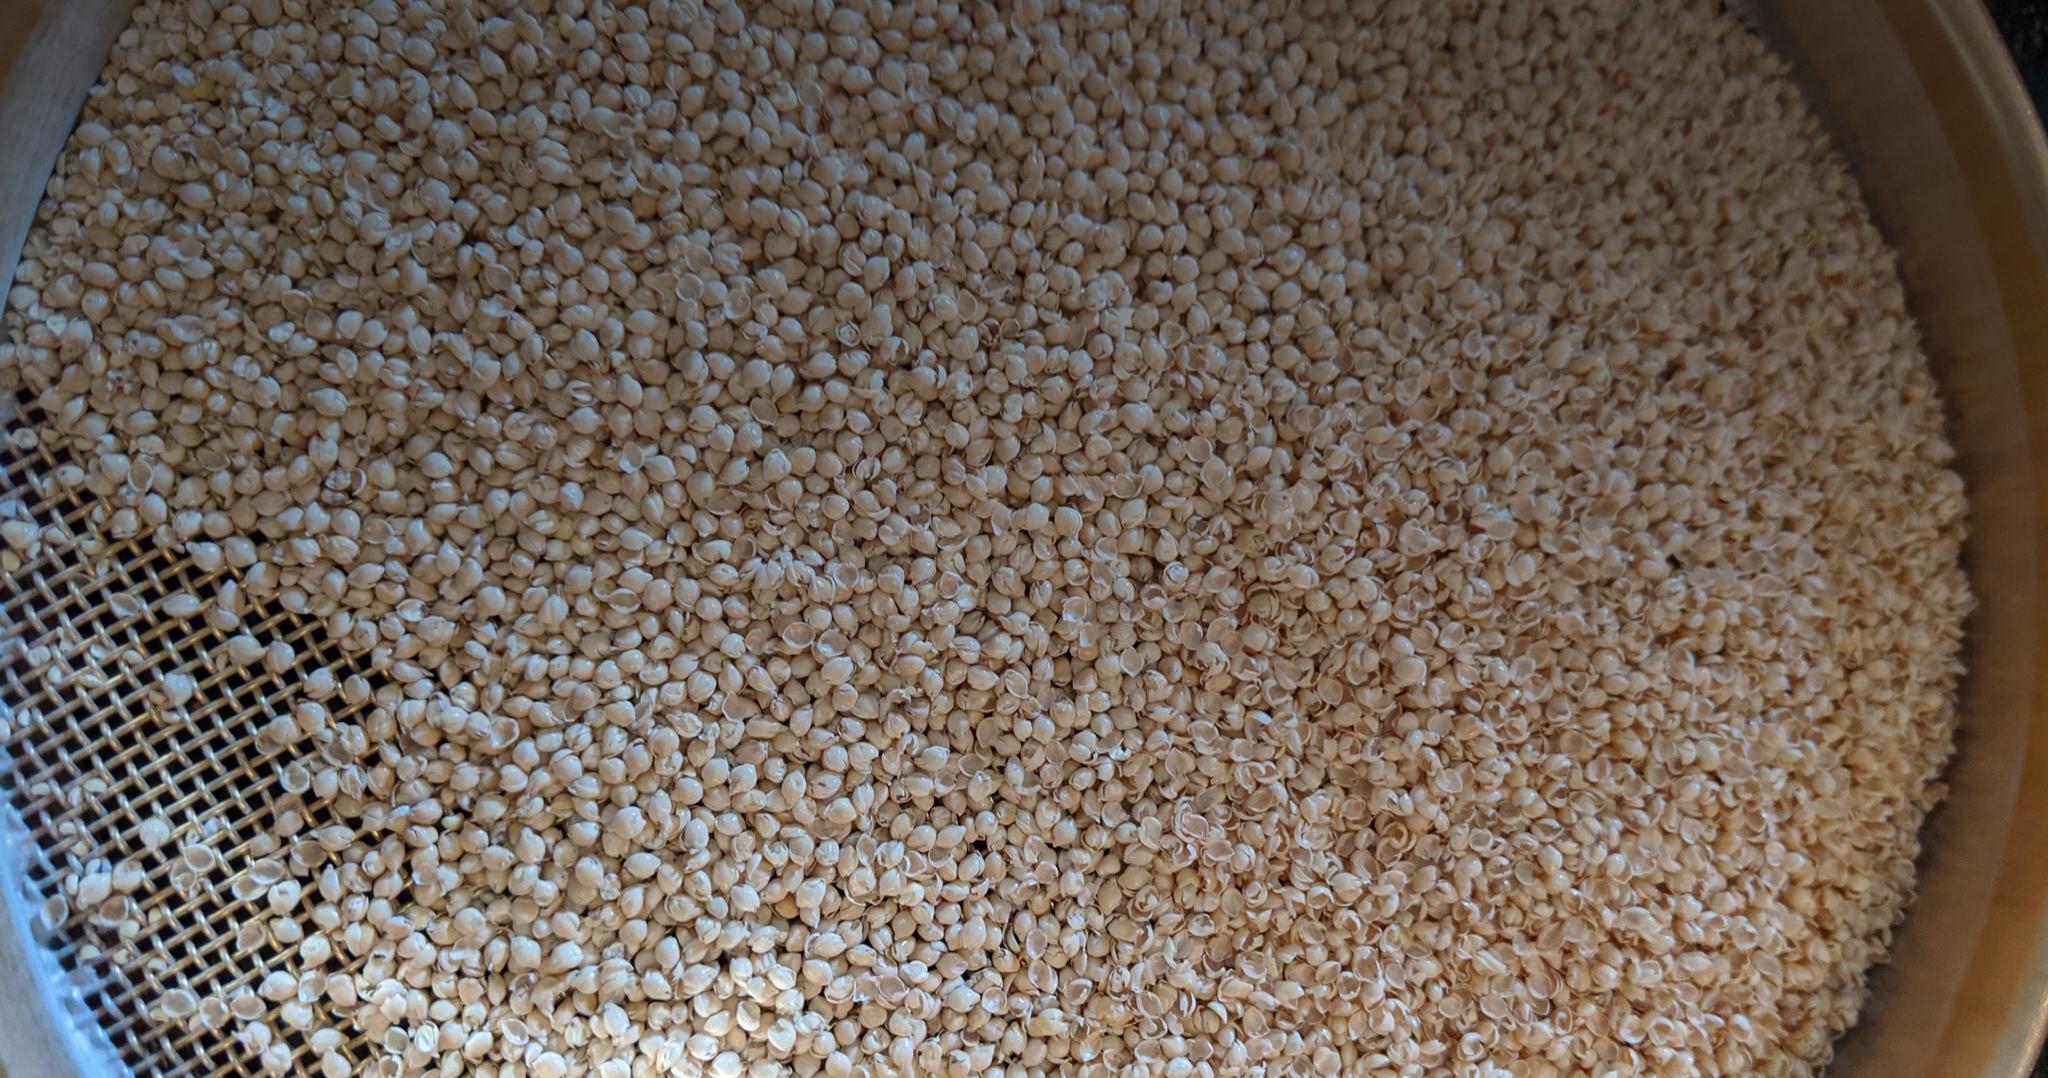
Turning to quinoa, we have a grain that is about 14% protein by weight, slightly above the top range for barley. However, you don’t need to use a lot of quinoa in order to get foam-boosting effects in your beer. Quinoa protein is more diverse than what you find in most other grains, so maybe something about the specific mix of proteins it provides creates an outsized foam effect.
It’s also not necessary to use pre-flaked quinoa—you can brew with raw, unmilled quinoa from the grocery store. The grain expands and explodes during cooking, making its starches easily accessible to enzymes and yielding somewhere in the low 30 PPG range.
Biscuit rice malt
Jim Eckert of Eckert Malting brews exclusively with his rice malts, and the secret to his impressive foam is biscuit rice malt—which he now offers in four different roast levels to suit a variety of styles.
But why would biscuit malt improve head retention? Nobody could answer that question for me, so I recently conducted a set of mini-mash experiments to try to figure it out, testing the protein content of various wort/enzyme combinations and looking for patterns.
To do that, I got a YAN test kit from Vinmetrica, a company that makes analytical tests for winemakers. (Vinmetrica confirmed that their kit should work equally well for beer wort.) Brewers usually talk about FAN (free amino nitrogen) but winemakers talk about YAN (yeast assimilable nitrogen), which is basically FAN plus any nutrients you add—for our purposes here, they are the same thing. The Vinmetrica test kit exists because the nutrient content of wine grapes can vary dramatically between different lots and harvests, so winemakers need to calculate how much nutrient to add to each batch.
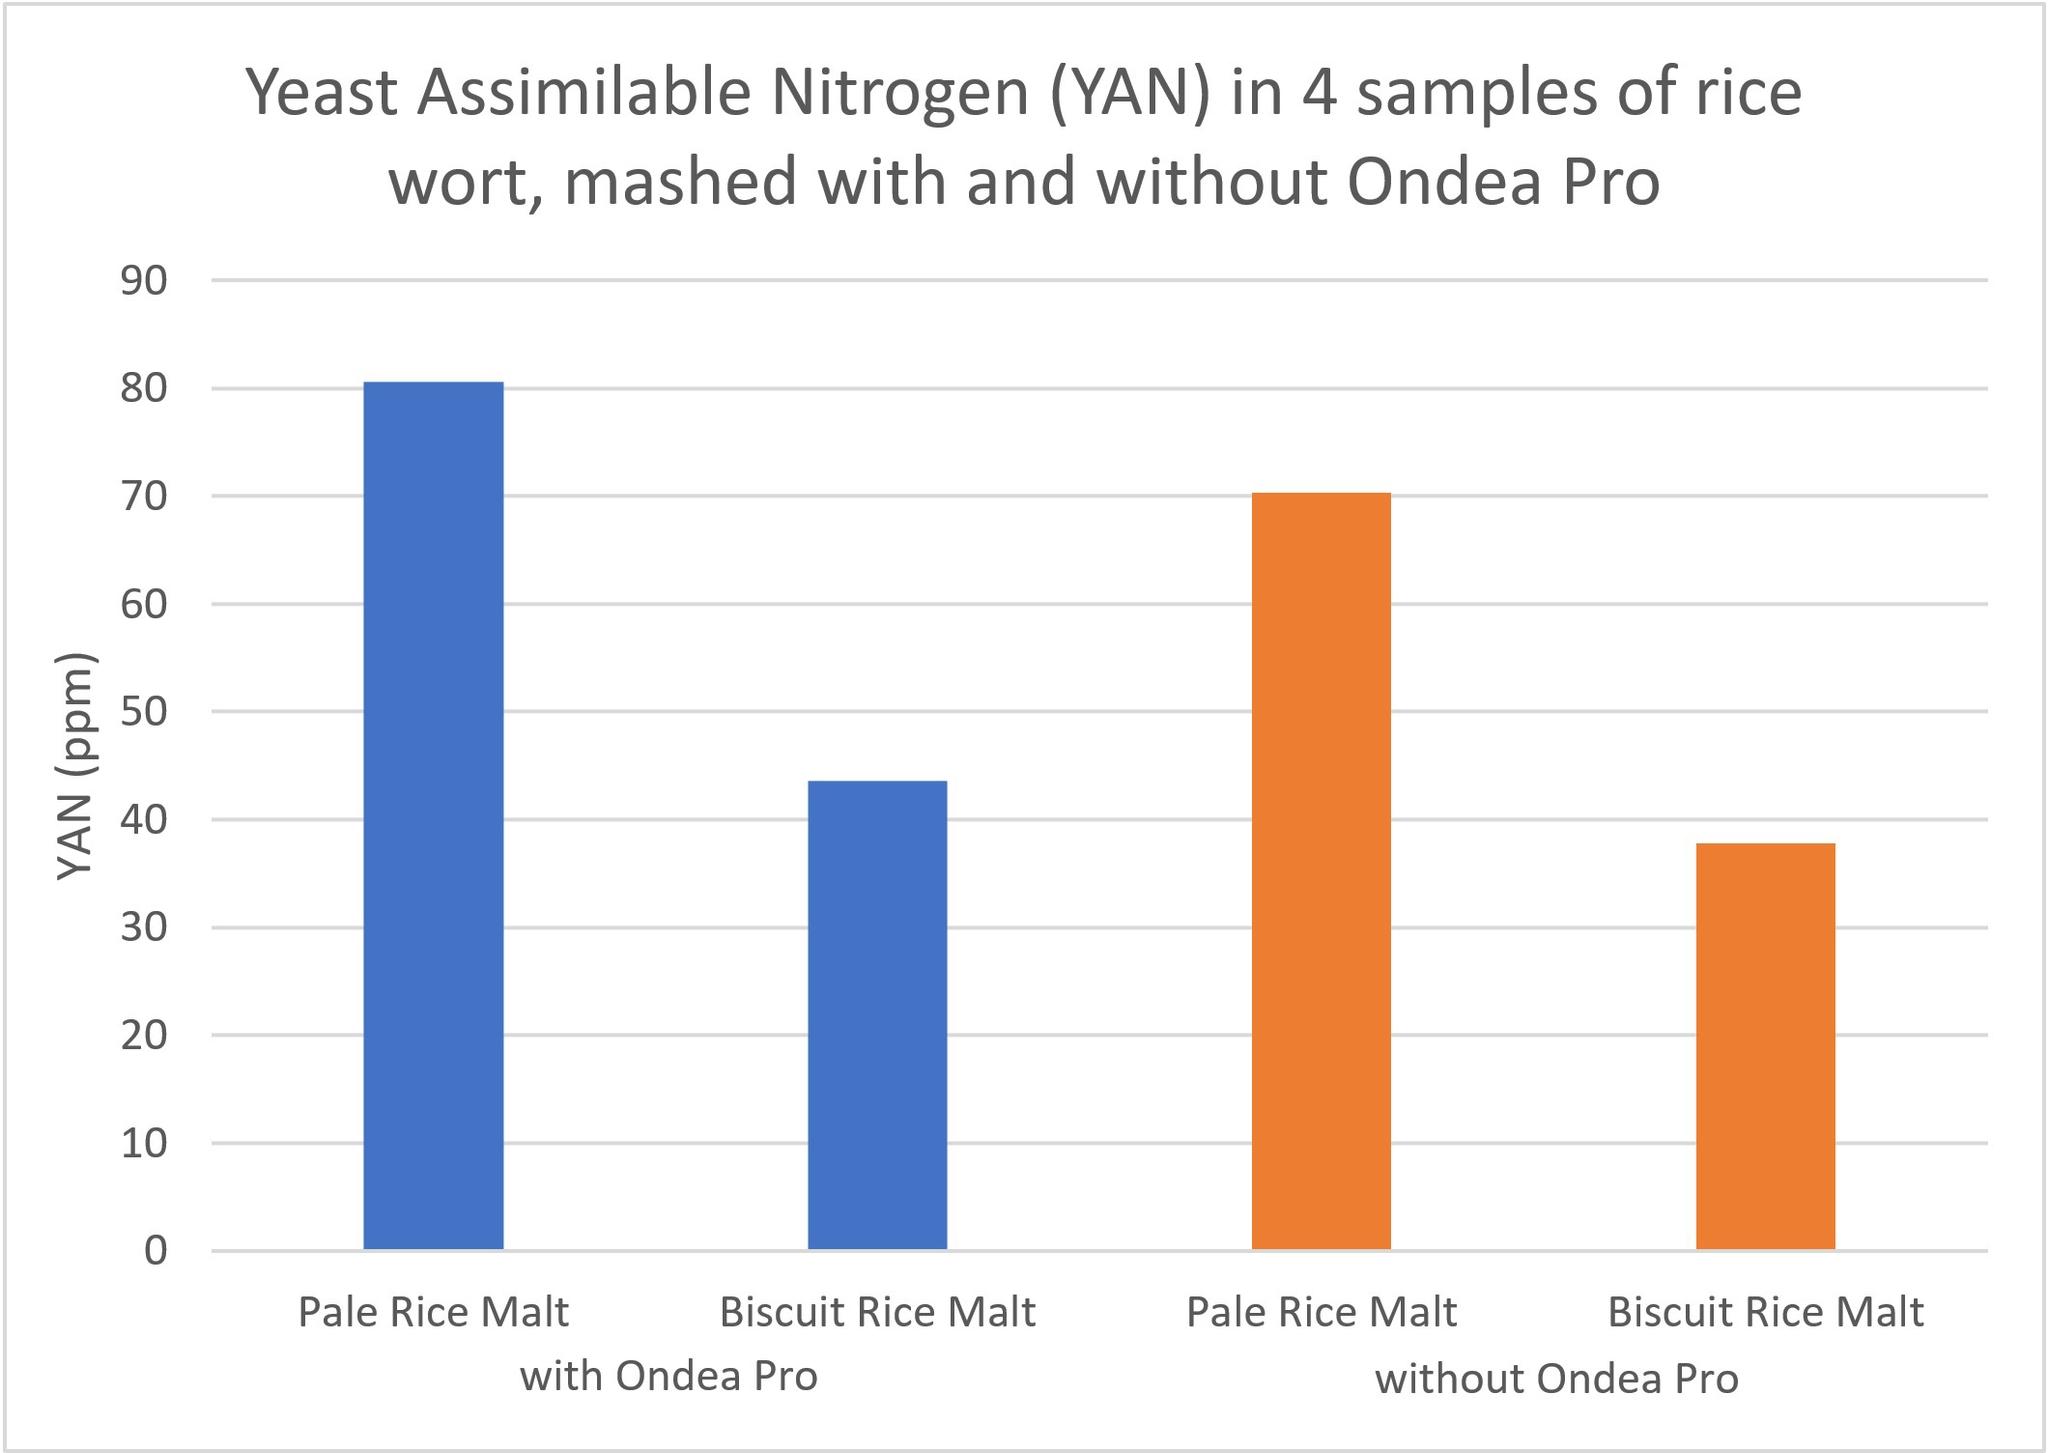
As you can see from the chart above, biscuit malt has roughly half the YAN of pale rice malt in both assays (ignore the Ondea Pro aspect for now; I’ll get into that below). That seems counterintuitive, until you realize that the higher the amount of YAN, the less protein remains for other brewing processes, including foam generation. That means something about the biscuit malt roasting process must be altering a significant proportion of the rice proteins to make them inaccessible to yeast. And something about how they are altered also makes them more foam positive.
So if you use a dose of biscuit malt in your beers, you should get improved foam. Just remember to also increase your nutrient dosage, because biscuit malt is especially deficient in FAN.
Ondea Pro enzyme cocktail
Ondea Pro is all the rage right now in the GF brewing community, and with reason: it allows you to increase the efficiency and quality of essentially any gluten-free mash regimen. Not surprisingly, it also has foam-positive effects that are worth discussing.
In essence, Ondea Pro was designed to be a “malthouse in a bottle”—the original application was the creation of international pale lagers using raw unmalted barley. One of the key benefits of malting is that it both transforms the proteins in the grain and makes them more accessible in the mash. Without malting, there would be very little protein transferred over to the fermentor, and even less available to the yeast.
While most any grain can be malted in a way that makes it usable for brewing, one of the challenges we have in GF brewing is that our grain cultivars haven’t been selectively bred to produce malt.
When you think about it, it’s kind of amazing that standard 2-row barley malt yields 37 PPG of extract while purified starch sources like flaked rice or corn only yield 1-3 PPG more. That tells you that brewer’s barley has been bred to mash extremely efficiently. Other grains have been bred for different characteristics, so even if they are malted according to best practices, the end result will usually end up undermodified by barley standards.
This is where Ondea Pro comes in. When combined with GF malts, it helps nontraditional sources go a little further than they would otherwise, maximizing their output—not just in terms of starch extraction, but also in terms of protein yield. In other words, Ondea Pro steps in where the lack of specialized breeding leaves us short, providing the enzymes required to convert virtually any grain into a quality wort.
At least that’s my theory, so I put it to the test with the Vinmetrica YAN kit. As seen below across multiple identical mashes, the Ondea Pro version consistently yields about 20% more YAN than the non-Ondea Pro version.
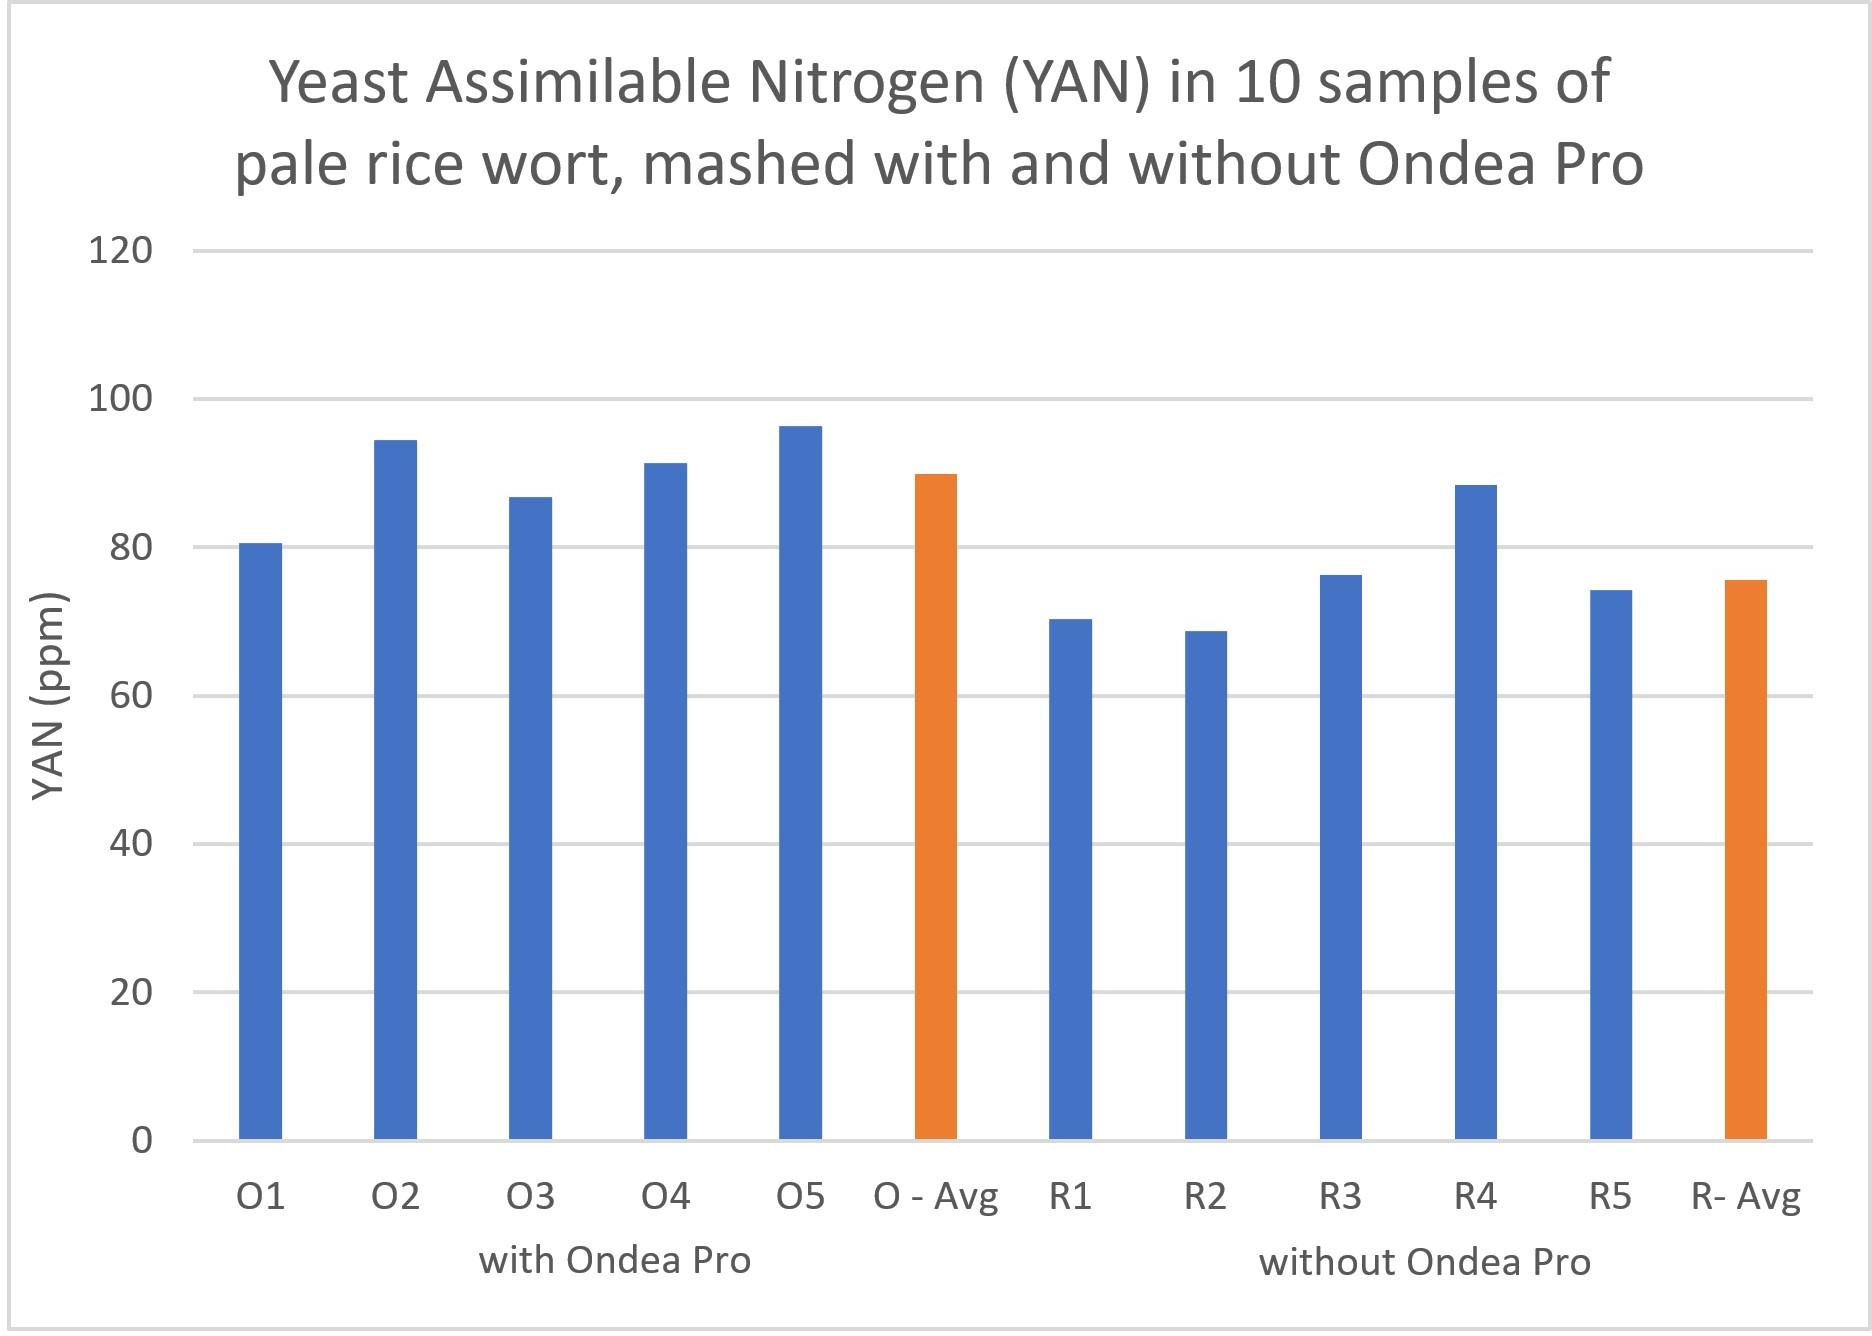
I have definitely noticed improved foam on my Ondea Pro beers, so this extra YAN does not come at the expense of head retention—in contrast to the pale malt vs. biscuit malt experiment. Why? Because the proteases included in Ondea Pro are designed to release a balanced mix of proteins that mimic a standard wort profile. You get increased foam and increased yeast nutrition at the same time. (To get the maximum effect, plan to do a rest between 120-130°F, which is the ideal range for the proteases in Ondea Pro.)
Glycoprotein rest… maybe?
A number of homebrew forums discuss the idea of doing a rest in the 160-170°F range to maximize the creation of foam-positive glycoproteins. I have only managed to track down one reference to this in the scientific literature, a study published in 1997 in the Journal of the American Society of Brewing Chemists, and it does indeed show greater glycoprotein creation in that temperature range, especially toward the top end.
That said, even if true, it’s unclear to me if the effect is specific to barley enzymes or something that would happen in any sugar–protein solution at that temperature. It’s also possible that the Ondea Pro proteases might give you the same effect at a lower temperature, making this step unnecessary. Most Ondea enzymes, after all, have ideal temperatures lower than natural barley enzymes.
Regardless, the glycoprotein rest temperature is also the standard range for mash-out and vorlauf, which will improve your beer regardless of any foam-positive effects. So there’s definitely no harm in doing a 20-30-minute vorlauf at 170°F and seeing if it helps with head retention.
Food oils: good and bad
Most food-based oils seem to have negative effects on foam. Standard brewing practices, like quickly chilling your wort and carefully racking your finished beer off the trub, will let you avoid most of the foam-negative oils naturally present in grains.
However, if you use any spices or flavorings in your beer, you may introduce new problem oils. I remember brewing a dark Belgian ale once with what I thought were minimal quantities of nutmeg and cinnamon extract. Zero head—it essentially poured like Coca-Cola.
The exceptions to the oil rule are oleic and linoleic acids, common in vegetable oils. These are important to yeast nutrition, something I discovered in a recent Craft Brewers Conference webinar led by Matt Couch of Lazarus Brewing. He was talking about this in the context of yeast storage, but he also noted how microdosing vegetable oils in the kettle or fermentor improved head retention.
The dose he recommends works out to 1ml per 5 gallon batch of beer. Homebrew forums suggest even less, dipping just the tip of a toothpick in oil and swirling it in the wort. Either way, we’re talking really miniscule amounts. (It’s also worth noting that this increases ester production, which may or may not be a good thing depending on your tastes.) Per Matt, the most balanced oil for oleic and linoleic acid concentrations seems to be sunflower, but other oils in the same ballpark include olive, safflower, corn, soy, and canola.
Summary of best practices
In brief, here are the main ways you can increase head retention in your beers:
- Brew hoppy beers
- Use one or more of buckwheat malt, quinoa, or biscuit rice malt
- Make sure at least 1.044 (11°P) of your starting gravity is from malt; most syrups and extracts provide only sugar and no protein
- Mash with Ondea Pro in the 120-130°F range
- Do a decently long vorlauf in the 165-170°F range
- Do a proper cold break after the boil
- Avoid transferring trub into the finished beer when you’re racking from the fermentor
- Avoid flavorings and spices that are foam-negative
- Use vegetable oil in very small doses for yeast nutrition
So that’s it for now. Hopefully there’s something in here that will inspire you in new directions. And as always, if you have feedback or any other suggestions for improving head retention, feel free to send them our way so we can add them to the article. Happy brewing!